Archery Range Safety: A Beginner’s Pre-Shoot Checklist
Nov 08,2026 | CHN Archery
Archery range safety begins before the first arrow is nocked. For first-time club shooters, families, adult beginners and returning archers, a simple pre-shoot routine prevents confusion, protects equipment and makes coaching easier. The essentials are straightforward: understand the range lines, obey the local commands, inspect the bow and arrows, and use a draw weight you can control. CHN Archery supplies equipment for target, training and recreational archery, but the range officer’s instructions always come first.

1. Know the Range: Essential Lines, Commands and Terms
A formal target range separates people, equipment and the arrow’s flight path. The exact layout varies, so treat the posted rules and the person controlling the session as authoritative. Before shooting, identify these areas:
- Shooting line: the line from which every archer shoots. Do not nock an arrow or draw a loaded bow until you are on this line and have permission.
- Waiting line: a line behind the shooters. Archers who have finished an end step back behind it with their equipment secure.
- Equipment area: the place for bow stands, cases and unused gear. Keeping equipment out of walkways reduces trips and prevents bows from being stepped on.
- Target line and overshoot area: the targets and the protected space beyond them. Nobody should enter this area while shooting is active.
- End: one group of arrows shot before everyone retrieves together.
Many clubs use whistles, voice commands or lights to control the line. Never assume that a signal has the same meaning at every venue. Listen to the briefing, repeat the commands if you are unsure, and stop immediately when the range officer or any person calls an emergency. The World Archery Beginners Manual states that an arrow should be placed on the string only after the archer is on the shooting line and a clear signal has been given.
2. The Real Beginner Problem: Excitement Moves Faster Than Routine
New archers usually want to focus on the target. The practical risks, however, often appear between shots: someone nocks early, a loose item of clothing touches the string, a dropped arrow is retrieved without permission, or a friend steps forward because they believe everyone has finished. None of these problems is solved by buying a more powerful bow.
A good beginner session therefore slows the process down. One person controls the line. Everyone shoots from the same line, even when targets are set at different distances. Bows stay pointed downrange. Arrows are collected only after the range is declared clear. At the target, archers walk rather than run, stand to one side of the arrows and check behind themselves before pulling a shaft so the nock does not strike another person.
Home practice needs even more discipline because there may be no range officer. A paper face is not a backstop, and a fence, hedge or tree is not automatically a safe arrow stop. Use a purpose-built target butt with a suitable backstop, control all access to the shooting lane and overshoot area, confirm that local laws and property rules permit archery, and do not shoot alone until a qualified coach or experienced range operator has approved the setup. If you cannot guarantee that a person or animal cannot enter downrange, do not shoot.
3. Key Selection Factors: Control, Fit and a Complete Equipment Check
Safe equipment is equipment that fits the archer, matches the discipline and passes inspection. Work through these factors before the first end.
Choose controllable draw weight—not an aspirational number
A beginner should be able to raise the bow, draw smoothly, hold alignment and let down under control without leaning, shaking or pointing above the target. Draw weight marked on a recurve limb is normally referenced to a specified draw length; the weight actually held changes with the archer’s draw length. Compound bows also require correct draw-length and draw-weight adjustment. A coach or pro shop should set the starting weight. More weight does not compensate for poor form, and fatigue makes safe let-down harder.
Match bow length and handedness
Bow length, draw length and handedness affect clearance and control. A right-handed bow is normally held in the left hand and drawn with the right, but eye dominance and physical comfort should be assessed rather than guessed. For target recurve, a longer bow can provide a comfortable string angle for a longer draw; use the manufacturer’s size guidance and coach input instead of choosing by height alone.
Match every arrow to the bow
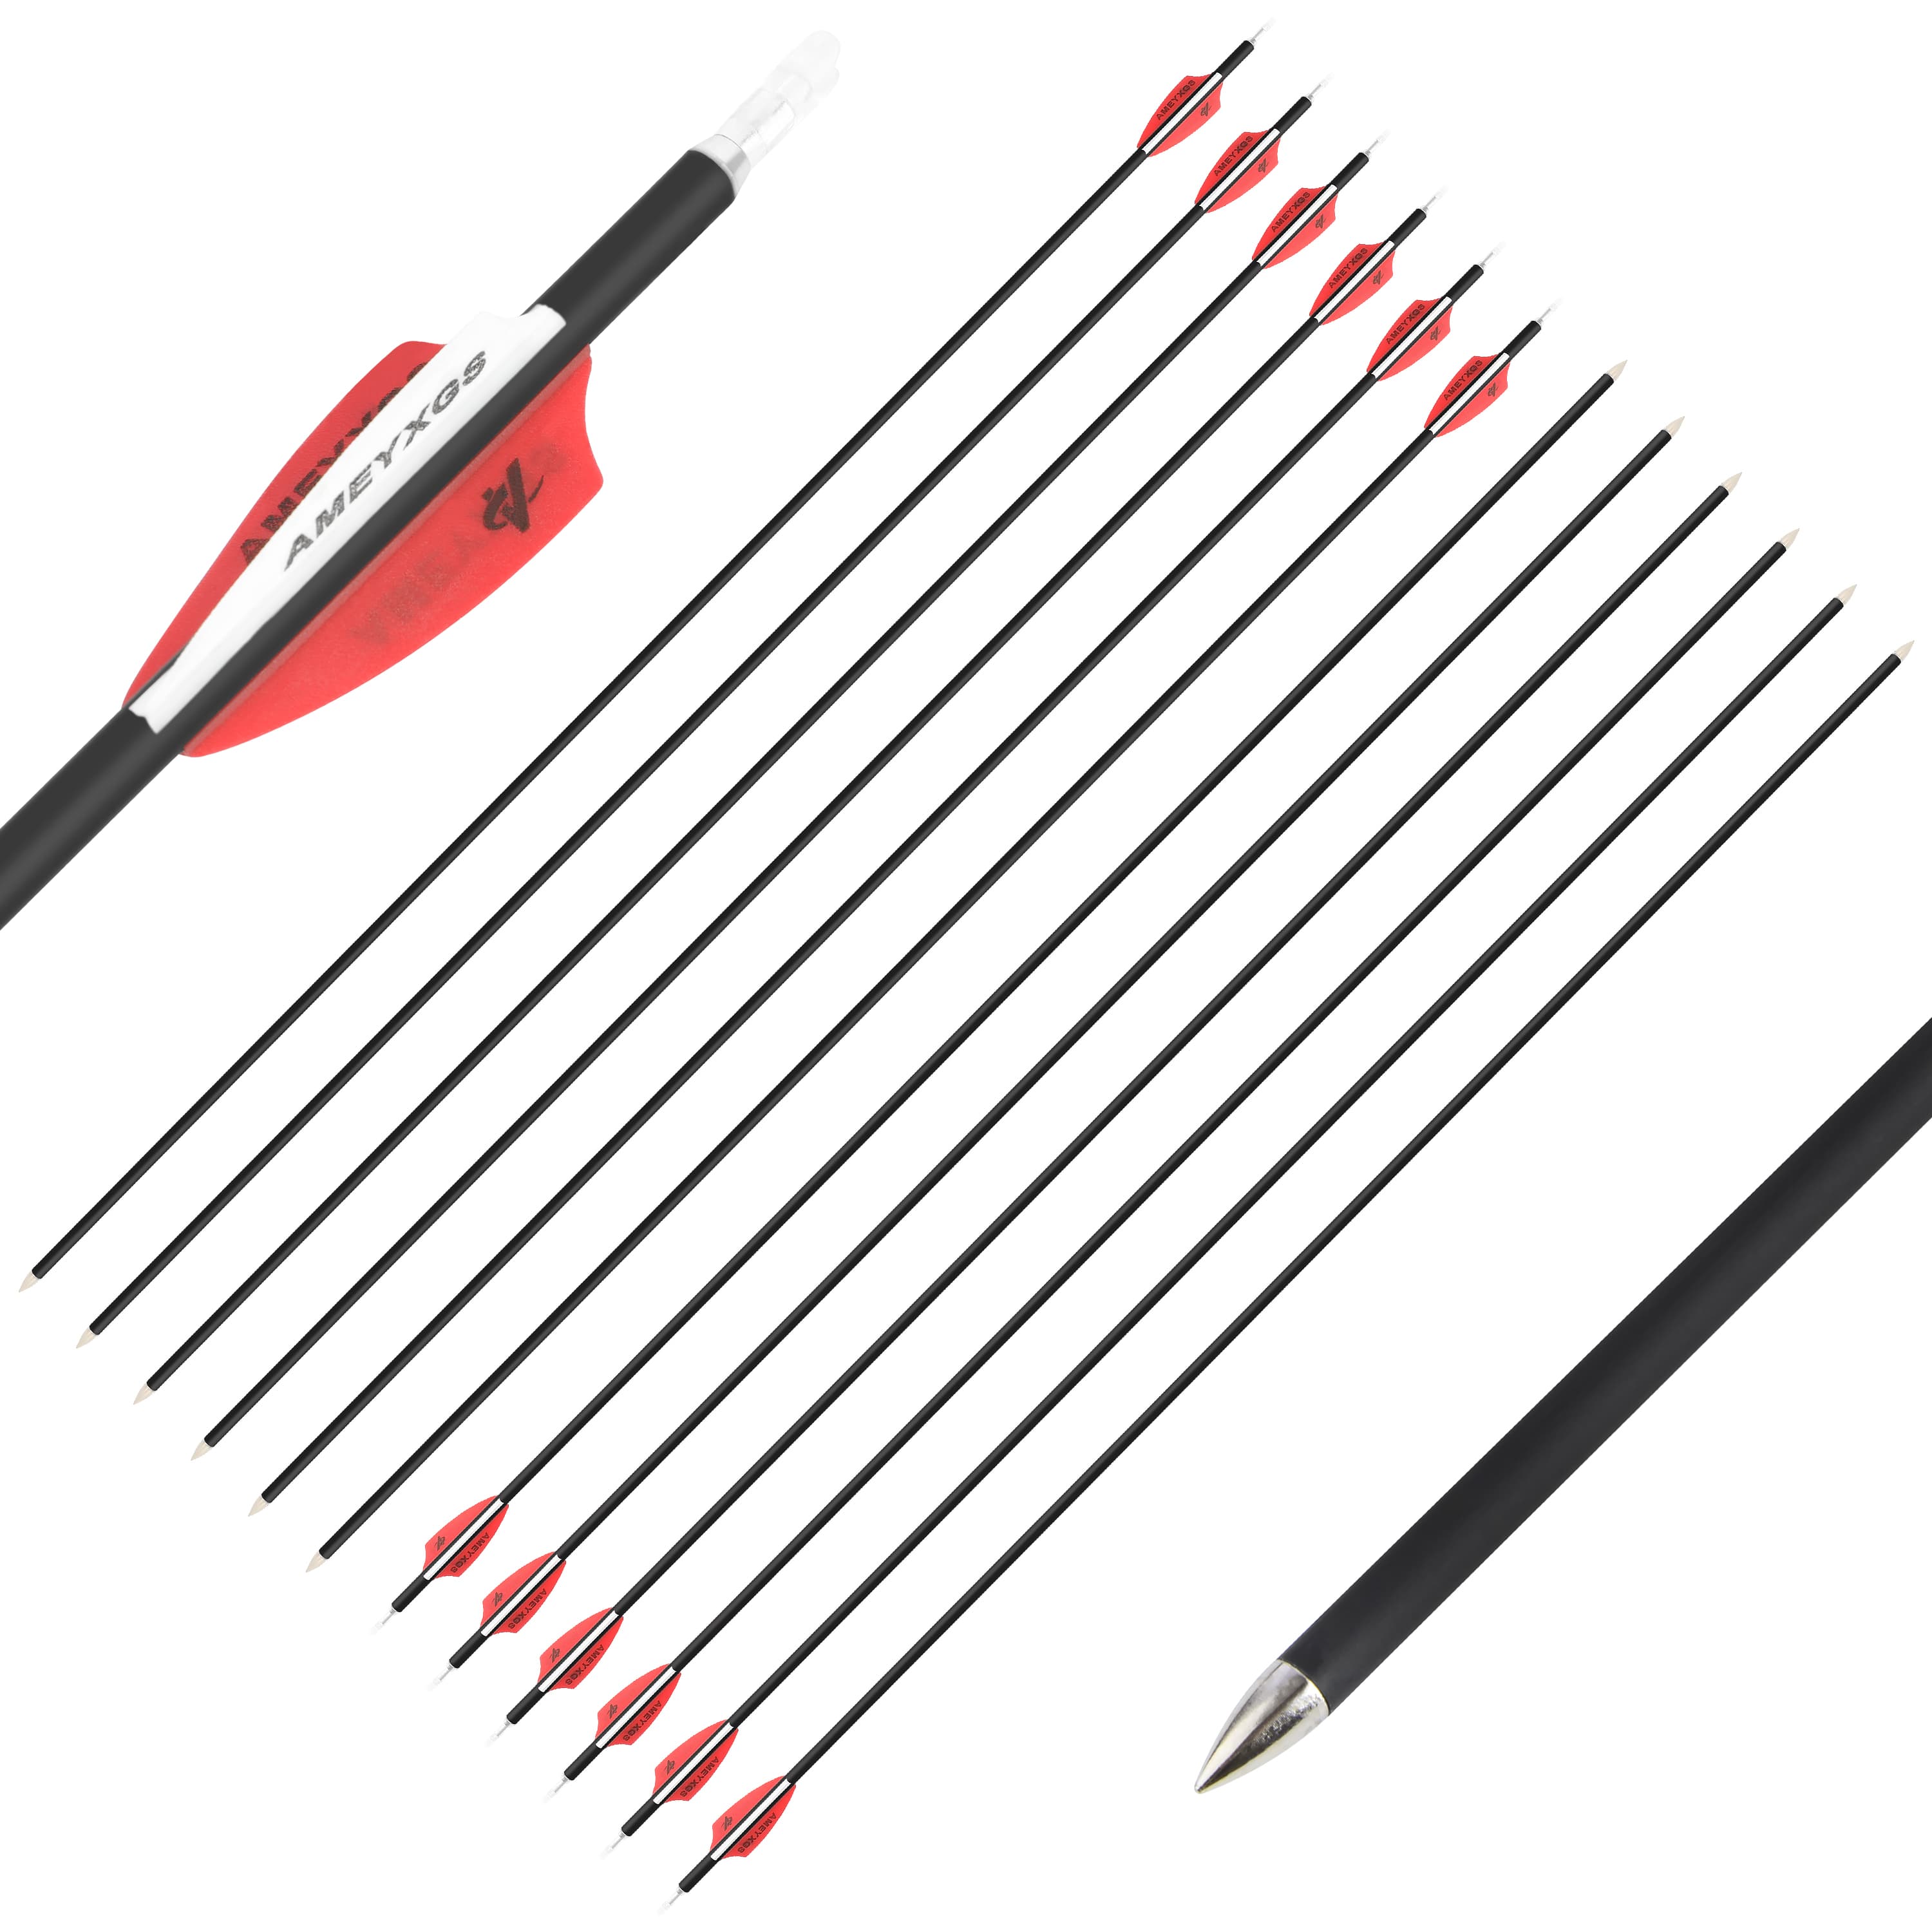
Arrow length, spine, point weight, nock fit and total mass must be suitable for the bow and setup. A shaft that is too short can be drawn behind the rest. A mismatched or damaged arrow can behave unpredictably. Before every session, check each shaft for cracks, splinters, bends or impact marks; confirm that points, inserts, nocks and vanes are secure. Retire anything questionable. Never dry-fire a bow: releasing without an arrow can damage the bow and injure the archer or people nearby.
Inspect the bow from limb tip to nock
- Check limbs, riser, cams, cables and fasteners for cracks, separation, unusual movement or missing parts.
- Look for broken strands, severe fuzzing, serving separation or loop damage on the string.
- Confirm the string is seated correctly in recurve limb grooves and that the arrow rest is intact.
- Verify that accessories are tight, but do not adjust limb bolts or compound modules beyond the correct manufacturer instructions.
- For a takedown recurve, use a proper bow stringer and learn the method from a coach before doing it alone.
Dress for string clearance
Tie back long hair, remove loose jewelry and secure hood cords, sleeves and bulky chest fabric. An arm guard can reduce string contact on the forearm, while a chest guard can hold clothing away from the string path. These accessories help with clearance; they do not fix an unsafe stance or incorrect bow fit.
| Check | Ready when… | Stop if… |
|---|---|---|
| Range | Rules are understood and downrange is controlled | A person, animal or vehicle can enter |
| Bow | Limbs, string and fittings pass inspection | You see a crack, loose part or string damage |
| Arrows | Length and spine match; components are secure | A shaft is cracked, bent or questionable |
| Archer | Clothing is clear and draw weight is controlled | Fatigue, pain or loss of control appears |
4. Beginner Mistakes That Create Avoidable Risk
- Nocking before the command. Keep arrows in the quiver until you are on the line and the range is open.
- Drawing without a clear target. Draw only toward the assigned target and never toward the sky, another lane or a person—even with no arrow fitted.
- Dry-firing “just to test” the bow. A bow must not be released without a correctly matched arrow.
- Walking forward for a dropped arrow. If an arrow cannot be reached without moving your feet from the shooting line, leave it until the range is clear.
- Using a bow that is too heavy. Struggling to draw or let down safely is a reason to reduce weight, not to push through.
- Standing behind arrows at the target. Approach carefully, check behind you, stand beside the shaft and pull straight back.
- Copying internet adjustments. Bow specifications and adjustment limits differ. Follow the exact manual for the model or ask a qualified technician.
- Assuming protective accessories make bad form safe. Guards manage contact; coaching and correct setup address the cause.
The official Archery GB beginner guide recommends learning under an experienced archer or coach. That is especially important for children, adaptive archers, first-time compound users and anyone assembling or adjusting equipment for the first time.
5. Build a Safer First-Session Kit
Buy equipment only after the range or coach confirms what is allowed. The goal is a controllable, inspectable setup—not the longest shopping list. These CHN Archery pages illustrate different jobs within a range kit:
For supervised target beginners
The KAIMEI 66/68/70-inch competition recurve bow is offered in 12–40 lb options at 28 inches, in 2 lb increments. Its three bow lengths and lower-weight options give a coach more room to select a target setup than a fixed heavy bow. Confirm draw length, handedness and suitable weight before ordering.
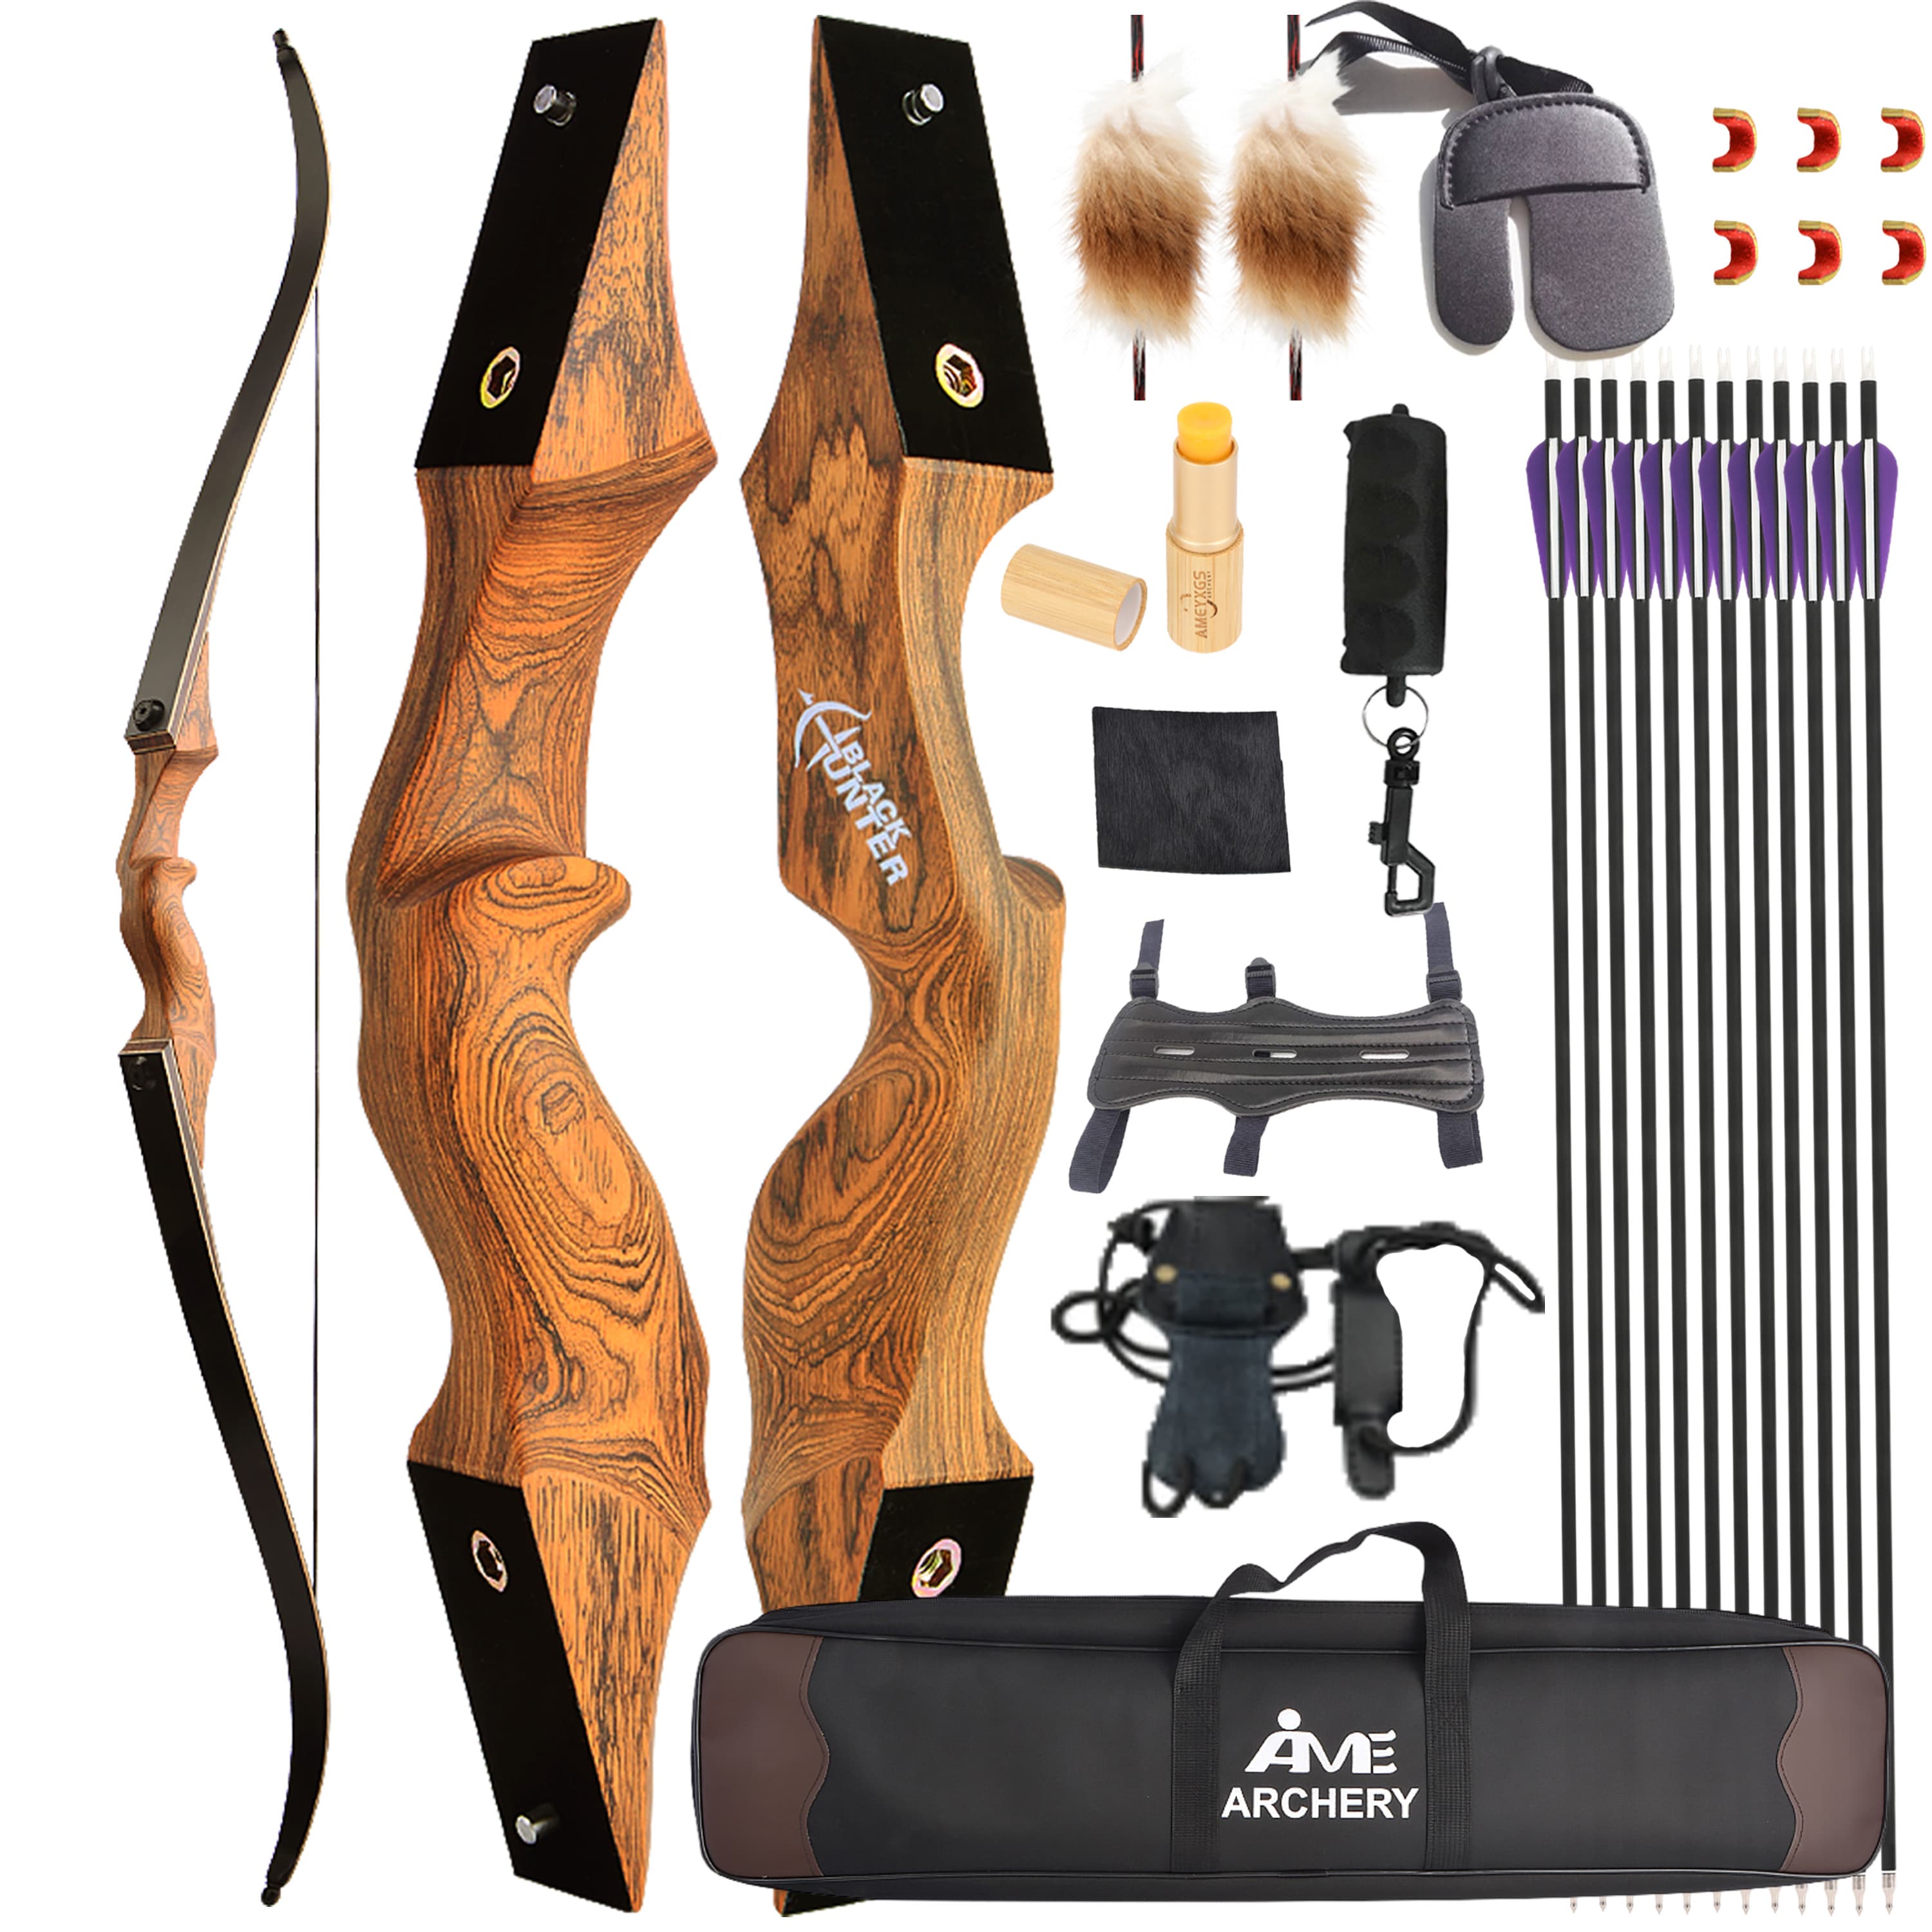
The Black Hunter takedown recurve set bundles accessories, but the current product page lists only 40 lb and 60 lb choices. Despite “beginners” in the product title, those weights are not an automatic first-bow recommendation. They require an adult archer whose coach has confirmed the weight, arrow match and intended use.
For setup, clearance and storage
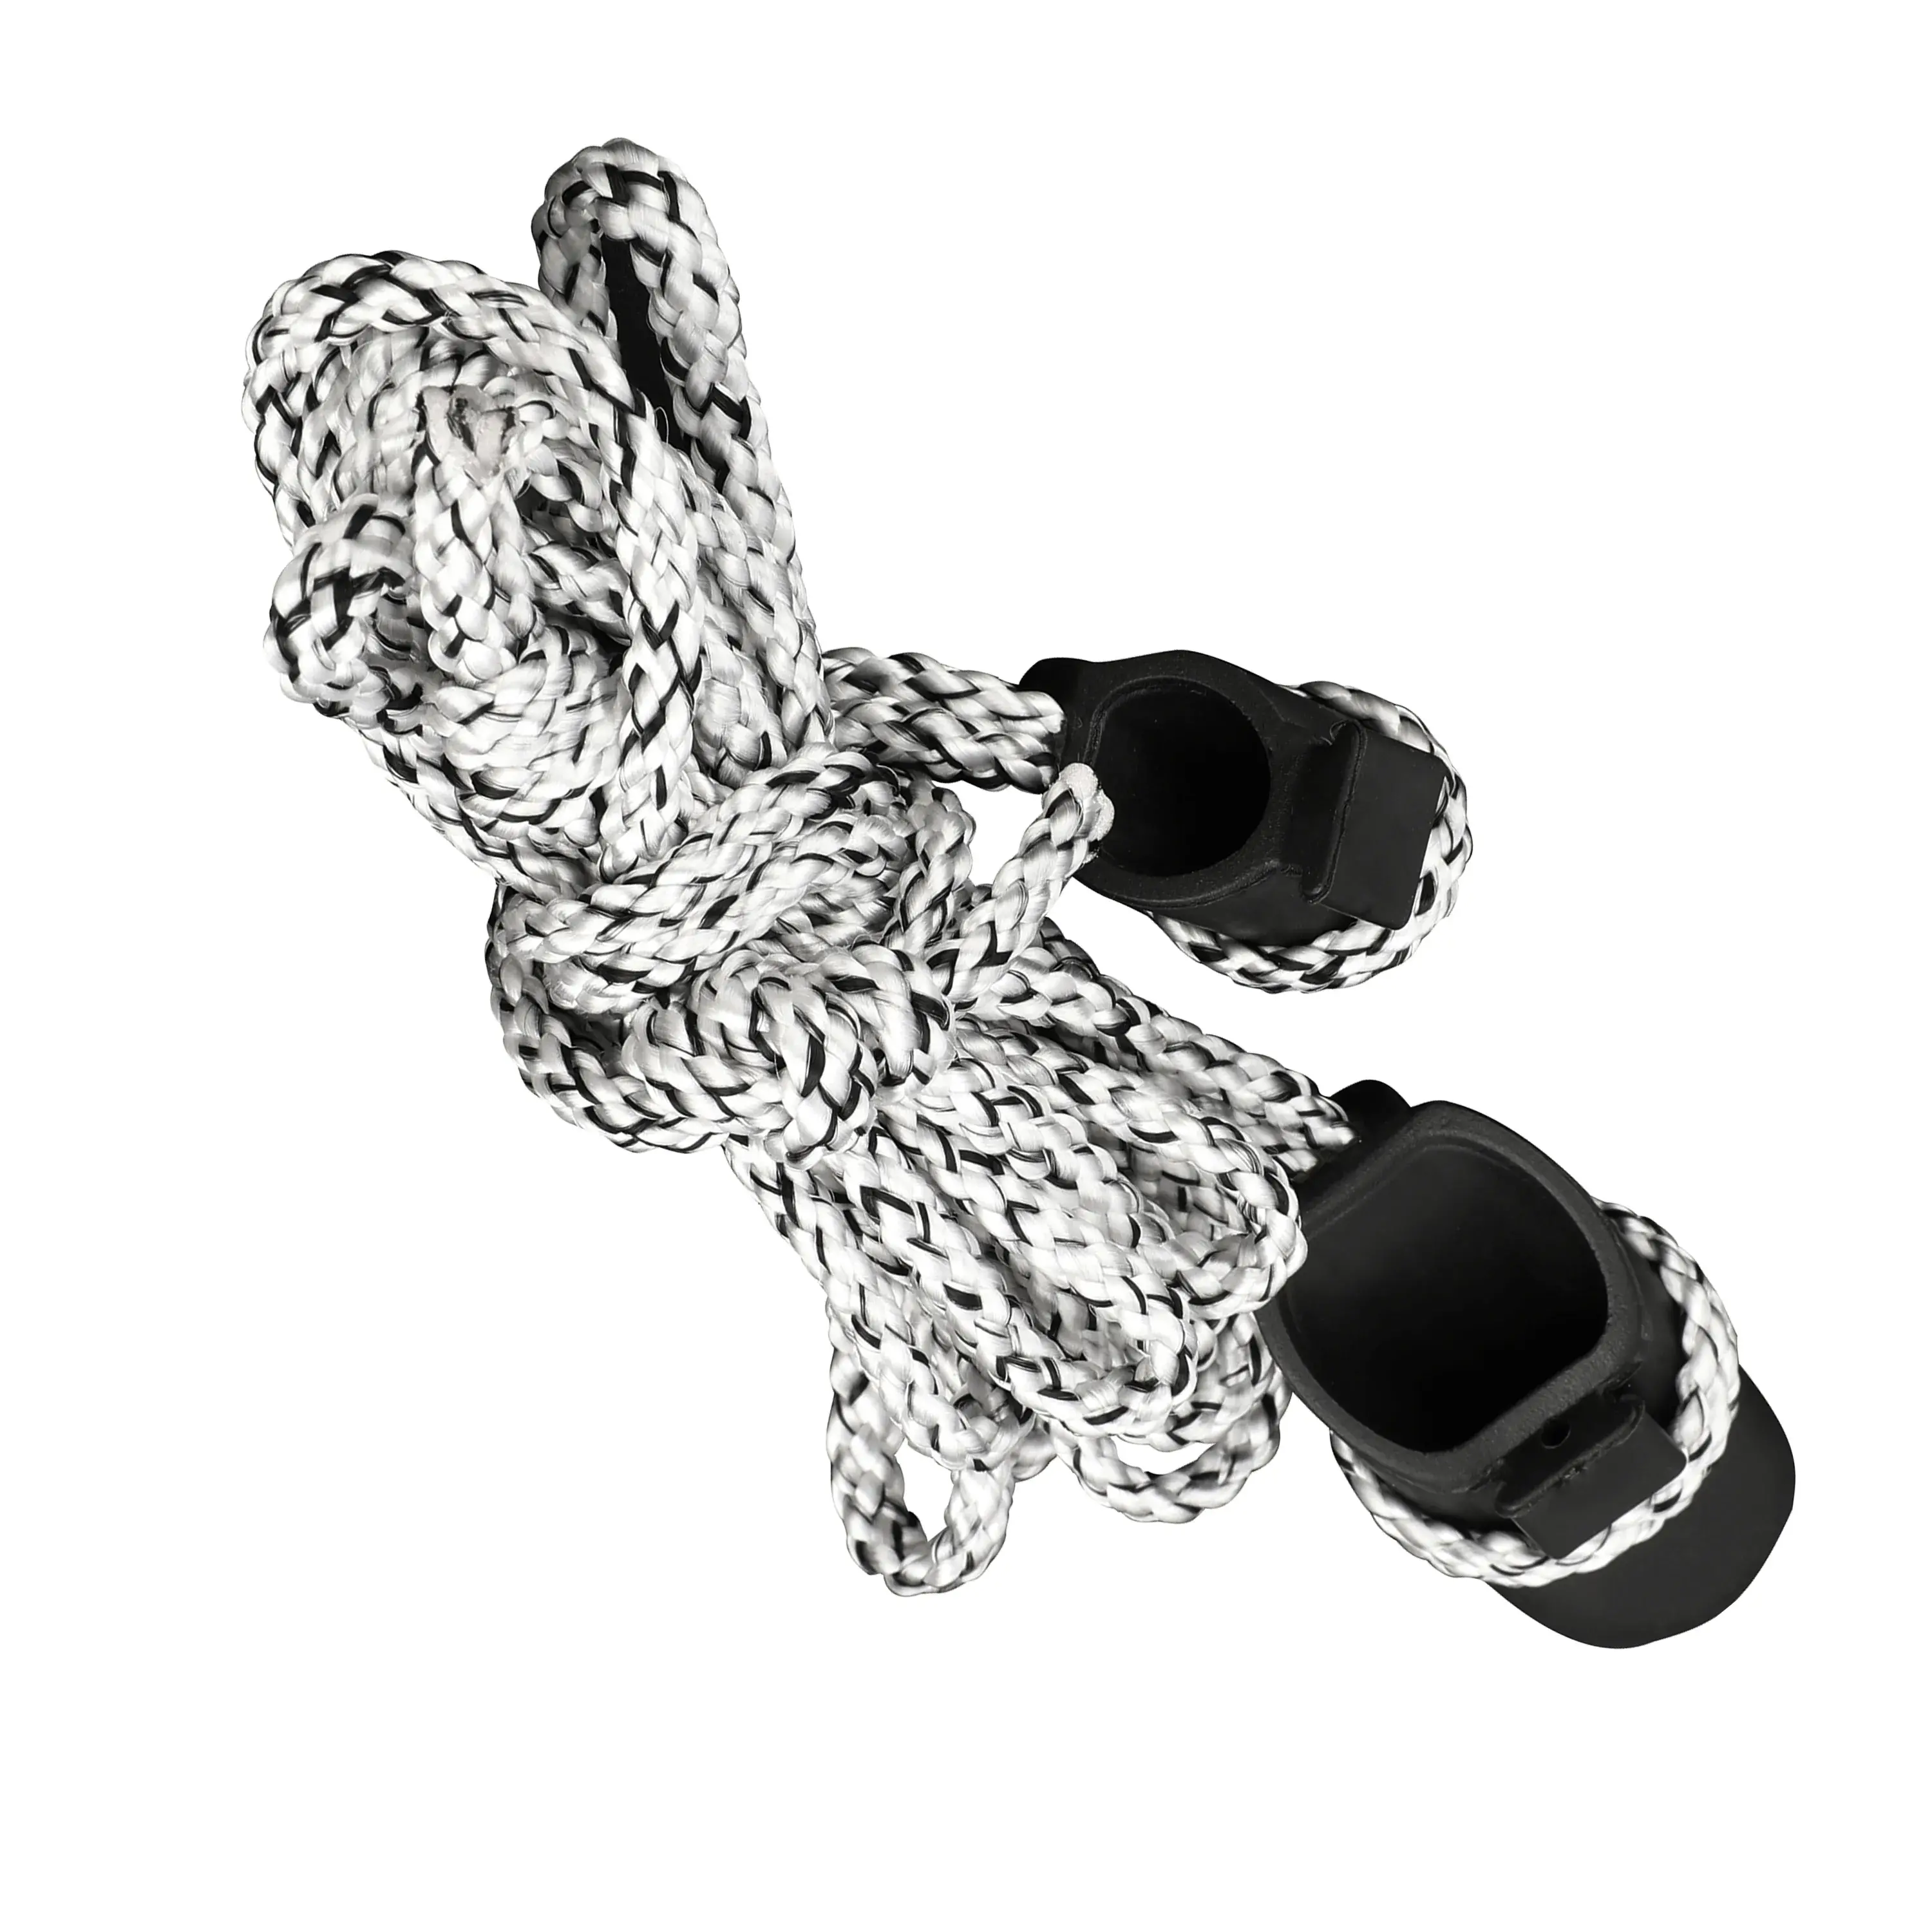
- The TOPOINT TP122 recurve bow stringer uses nylon cord and rubber limb-tip covers; the page specifies an 83-inch length for 48–70-inch AMO bows up to 70 lb. Use it only with a bow it fits and follow a demonstrated method.
- The AMEYXGS PET chest guard is made for right-handed archers and is offered in three chest-size ranges. Left-handed archers need the correct opposite-side design.
- The folding compound bow stand is a compact stand for a compound bow; it is not a substitute for a stable recurve stand and it should remain behind the active shooting line.

For arrows and targets
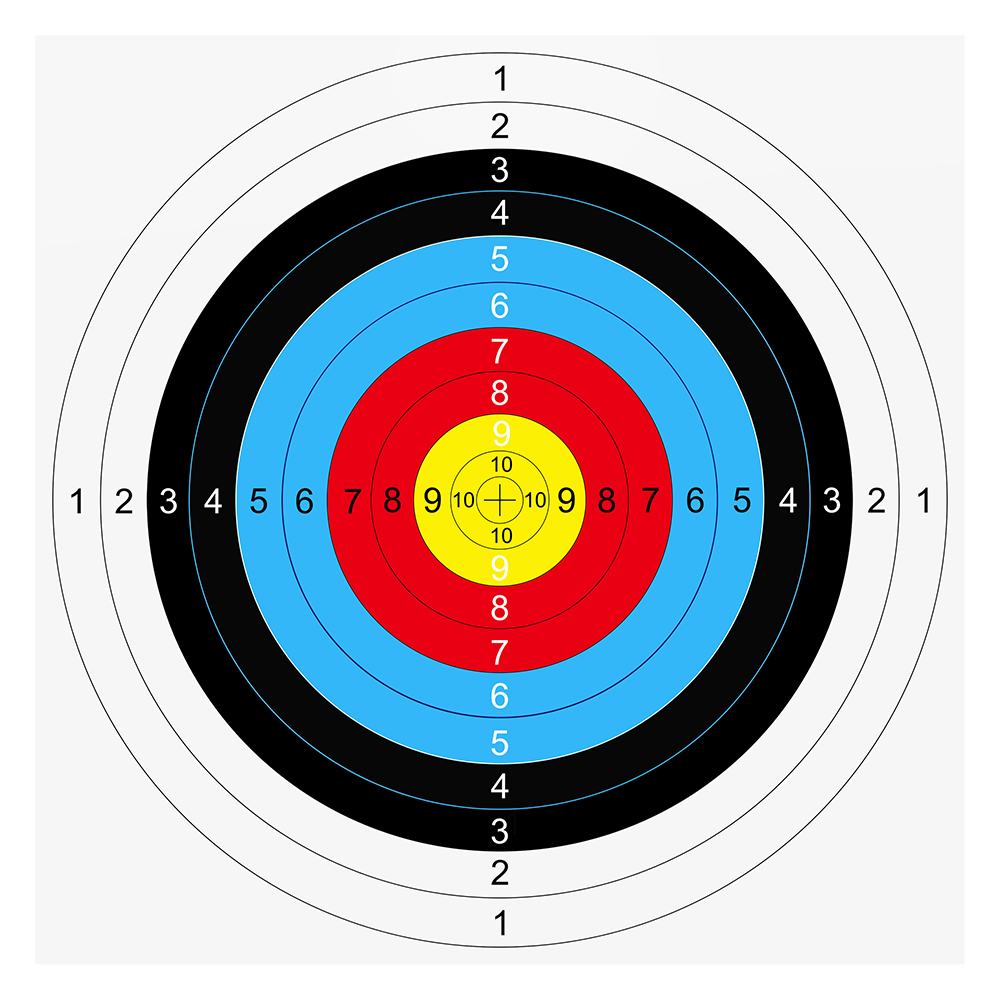
The 31-inch 1000-spine target practice arrows are a specific 4.2 mm carbon configuration. Buy them only if their length, spine, nock fit and total mass match the bow. The 40 cm ten-ring paper target faces provide a visible aiming and scoring surface, but they must be mounted on a suitable target butt with a real backstop and controlled range.

Start with the range, then choose the gear. Compare verified target bows, stringing tools, protective equipment, arrows and target faces after your coach confirms fit.
Explore Recurve Bows6. Archery Range Safety FAQ
Can I nock an arrow while I am waiting?
No. Keep the arrow in your quiver until you are on the shooting line and the local signal permits shooting. If you do not understand a command, ask before touching an arrow.
What should I do if a person or animal enters the range?
Call “Stop” or the venue’s emergency command loudly, then lower the bow and follow the range officer. Do not shoot, and do not go downrange until the range has been formally cleared.
Is a paper target enough for backyard archery?
No. Paper is only an aiming surface. A backyard setup needs a suitable target butt, backstop, protected sides and overshoot area, controlled access, and compliance with local rules.
How do I know whether my draw weight is too high?
If you must lean back, raise the bow above the target, collapse quickly, shake heavily or cannot let down under control, stop. Ask a coach to reduce the weight and check draw length and technique.
Can I keep shooting an arrow with a small crack?
No. Remove any cracked, splintered, bent or otherwise questionable shaft from service. Have it inspected by a knowledgeable technician; replacement is cheaper than risking a failure at release.
Do I need an arm guard or chest guard?
Many beginners benefit from an arm guard, and a chest guard can manage loose clothing or string clearance. Choose the correct size and side, but also ask a coach to check alignment and bow fit.
7. Make the Checklist Your First Shot
Safe archery is not a separate skill that comes after accuracy. It is the routine that makes useful practice possible: listen to the range controller, keep all arrows behind the line until the signal, inspect every component, use controllable draw weight, secure clothing, and collect only when everyone is cleared to move forward.
For a first session, book a coached club introduction and use loan equipment if available. When you are ready to assemble your own kit, begin with the bow and arrow specifications your coach has approved, then add a stringer, guards, quiver, stand and proper target system as needed. Browse target equipment or compare bow stands and holders—and let the local range rules make the final decision.